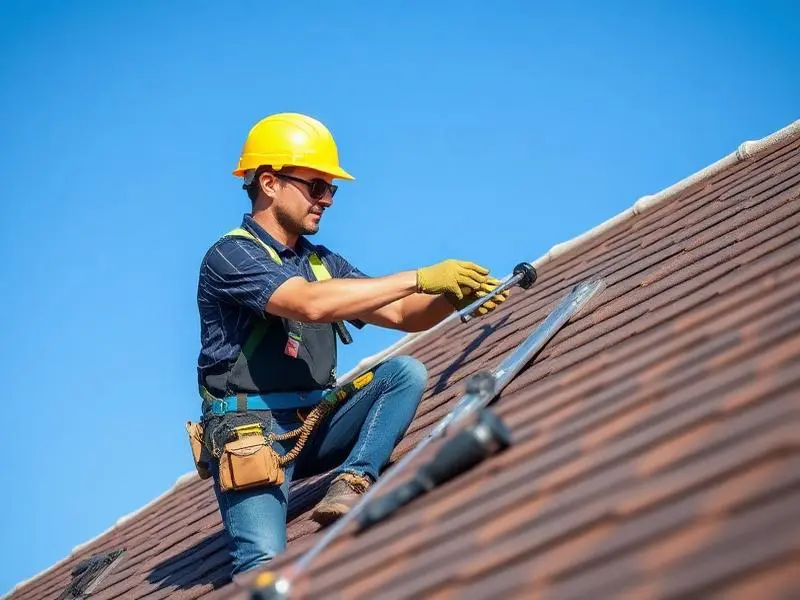
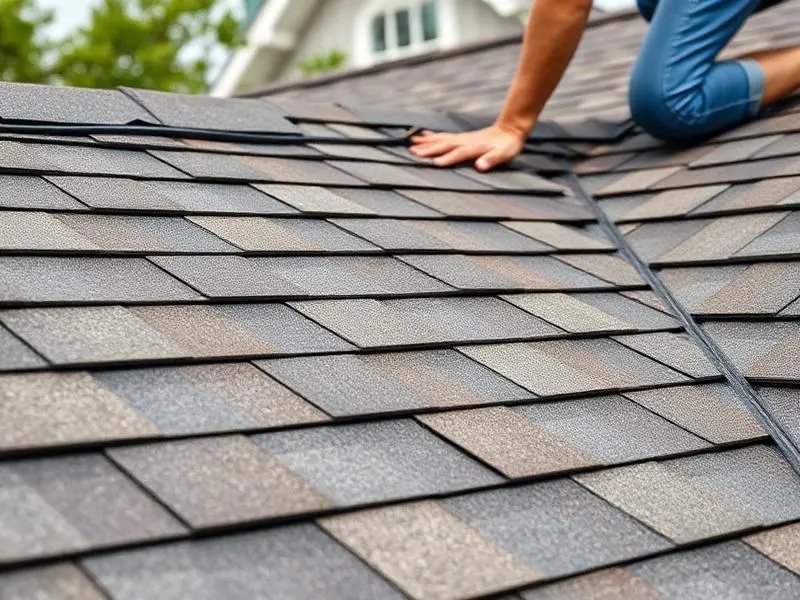
Quality Materials
We use products designed to seal, waterproof, and weatherproof your structure effectively.
Timely Service
Efficient project completion with minimal disruption to your daily routine.
Professional Work
Experienced contractors dedicated to quality installation and customer satisfaction.
Our Roofing Services
Specialized in new installations and complete roof replacements for residential properties

New Roof Installation
Complete installation of quality roofing systems designed to protect your home for years to come.

Roof Replacement
Full roof replacement services using durable materials that seal and weatherproof your structure.

Professional Consultation
Expert guidance on selecting the right roofing solution for your property and budget.
Frequently Asked Questions
Find answers to common questions about our roofing services
We offer professional residential and commercial roofing services including new roof installation, full roof replacement, roof repairs, emergency tarping, gutter and downspout work, skylight installation and replacement, and routine roof inspections across communities in Pennsylvania.
Yes — we provide free, no-obligation roof inspections and written estimates; inspections may be visual or include drone photography when needed, and you’ll typically receive an estimate within a few business days.
Most single-family roof replacements are completed in 1–3 days, but project duration depends on roof size, pitch, layers to remove, weather, and permit timing; your written estimate will include an expected timeline.
Yes — we can document damage, provide a contractor’s estimate, meet with your adjuster if requested, and supply the photos and reports insurers typically require, but we cannot guarantee claim approval since that decision rests with your insurance company.
We install a range of materials including architectural and 3-tab asphalt shingles, metal roofing, flat roofing systems (EPDM, TPO, PVC), cedar shake, and tile, and will review manufacturer options and color choices to match your budget and aesthetic.
Yes — most projects include a workmanship warranty along with manufacturer warranties for materials; warranty terms vary by product and job, so you’ll receive written warranty details as part of your estimate package.
Look for persistent leaks, missing or curling shingles, excessive granule loss in gutters, visible decking or sagging, large areas of moss or algae, or a roof older than its expected service life — we’ll assess your roof and recommend repair vs. replacement based on condition and cost-effectiveness.
Permitting requirements vary by municipality; we typically handle all necessary permit applications and inspections as part of the project so you don’t need to coordinate with the local building department yourself.
We follow industry safety standards, use fall protection and PPE for crews, secure the work area, protect landscaping, and perform thorough cleanup including magnetic sweeps for nails and debris; a final walkthrough is completed with the property owner.
Yes — financing options and payment plans are available through third-party lenders for qualified customers; we’ll discuss available programs, typical terms, and application steps during the estimate process.
We have experience with specialty roofing systems and can coordinate work on historic homes, including matching materials and following preservation guidelines; each specialty job is reviewed to identify appropriate materials and any required approvals.
You can request a free inspection or quote through the contact options on this landing page or request a callback; once we receive your request we’ll reach out to confirm an inspection window and next steps.